Multiple exposures
The Minolta 9000's multiple-exposure button enables cocking the shutter without advancing the film. When multiple exposures are made, the frame number does not change until the film is actually advanced. To use:
- Make the first exposure in the usual way.
- While pressing the multiple-exposure button all the way in, operate the film-advance lever to cock the shutter for the next exposure.
- Repeat steps 1 and 2 to make additional exposures. After making the final exposure, release the multiple-exposure button and wind the film as usual. This will now advance the film to the next frame.
Determining exposure
The following suggestions can serve as basic starting points for determining correct exposure. However, subject matter, lighting conditions and your own intentions will all determine the final results.
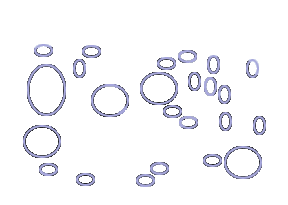
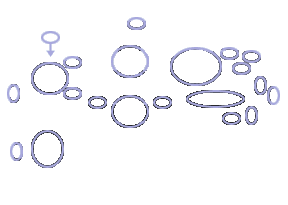
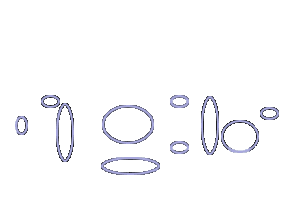
- When making two exposures of evenly illuminated subjects that fill most of the frame, set exposure adjustment to -1.0. This will decrease exposure for each shot by one half and the cumulative exposure should be correct. For four exposures, set adjustment to -2.0, and so on.
- For multiple exposures of subjects against a dark background which do not overlap each other, exposure adjustment is not usually required.
NOTE
- There is no way to lock the multiple exposure button in. That means that the button must be pressed all the time; it also means that the feature isn't suitable for exposures longer than 1/60, as camera shake will be introduced if keeping the button pressed.
- If the Motor Drive MD-90 is used, its internal counter will increment with every exposure. It needs to be reset manually.

